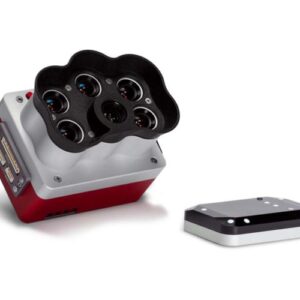
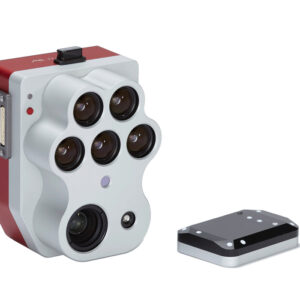
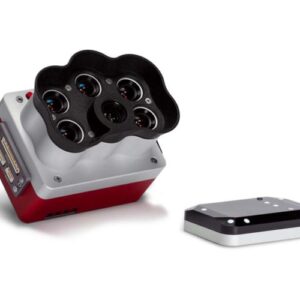
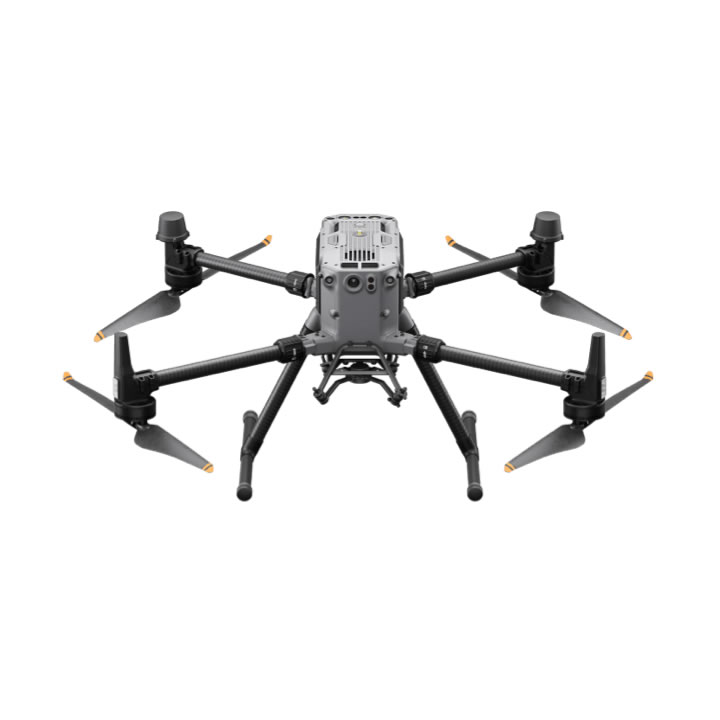
Cámara multiespectral Rededge 3 Usada (perfecto estado)
Cámara multiespectral Rededge 3 Usada (perfecto estado)
Incluye panel de calibración, Gps y sensor de luz
1 disponibles
Llévatelo por 0€ en 0 meses *
- TIN: 0% / TAE: 0%
- Número de cuotas: cuotas
- Cuota mensual: 0€/mes
- Importe total adeudado y precio total a plazos: 0€
- Coste total de crédito e intereses: 0€

- Envío gratuito en pedidos superiores a 600€
- Entrega en : 1-2 Días Laborables Envíos y devoluciones
CAMERA DIMENSIONS AND MASS
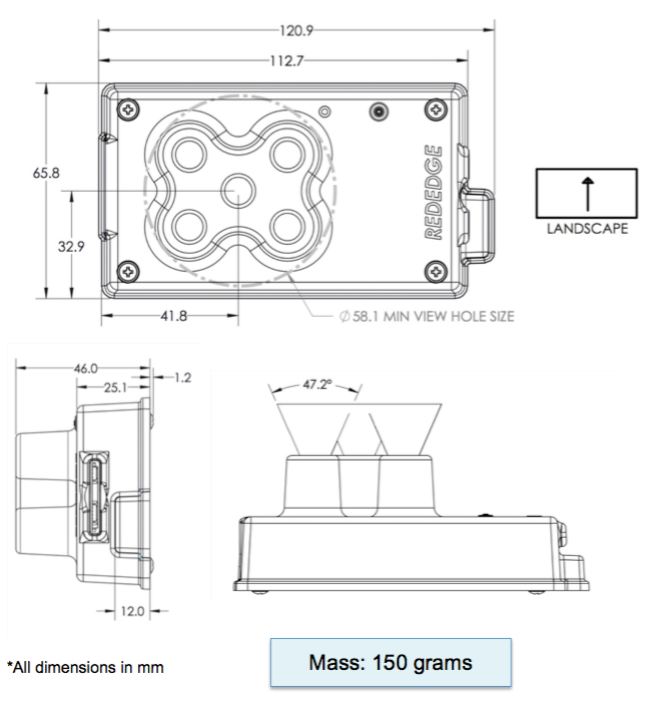
Mass: 150 grams
LENS AND IMAGER INFORMATION
|
HFOV |
47.2 deg (5.4 mm Focal Length) |
|
Aspect Ratio |
4:3 |
|
Sensor size |
4.8 mm x 3.6 mm , 1280 x 960 Global Shutter |
ATTACHMENT POINTS
The RedEdge 3 camera can be attached to the host aircraft using at least 2 of the 4 provided threaded mounting points. 4-40 screws are used for this purpose.
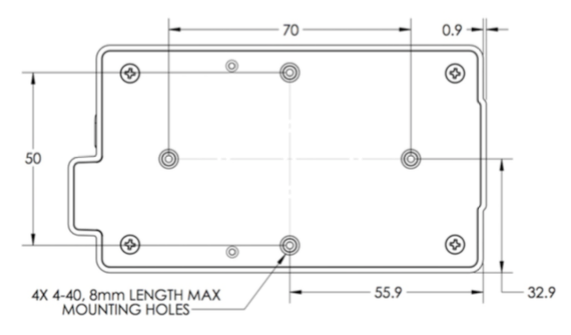
CAUTION Do not use a screw that will extend into the threaded holes by more than 8 mm (0.3”). Use a washer or other spacer to ensure that the screws do not go into the camera too far.
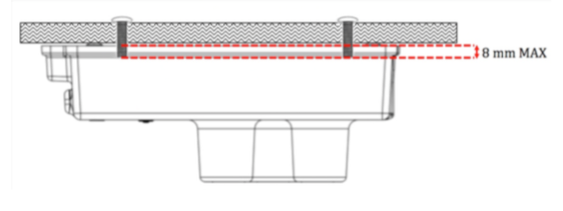
NOTE: A very light coating of non-permanent thread locker can be used to prevent the screws from coming loose due to vibration. Wipe off excess thread locker from screw prior to insertion.
RECOMMENDATIONS FOR INSTALLATION
- The camera should be installed such that it has a clear view of the area directly below the aircraft. The “cone” of the lenses (47.2 degrees total Horizontal Field of View) should be considered in the process of deciding where to mount the camera on the aircraft or payload bay.
- Thanks to global shutter imager technology, the camera is able to withstand some vibration without degrading image quality; nevertheless, vibration isolation between the camera mounting platform and the aircraft is recommended.
- Use of a gimbal is highly recommended to ensure that the camera is pointing straight down (with respect to the earth) at all times during flight. This is especially important for multi-rotor aircraft installations. This gimbal system need only be a “servo-driven” gimbal (for pointing as opposed to high-frequency stabilization).A brushless motor type gimbal (mass-balanced, free-floating) can also be used, but it is not required.
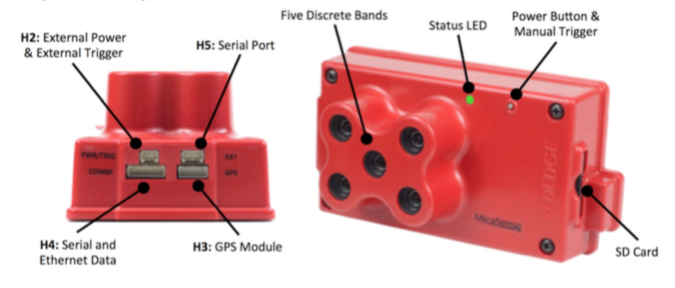
- If the camera’s GPS module is used for providing GPS information to the camera, it should be installed in a location of the aircraft where it will have a clear view of the sky. Install the module far away from any devices that could interfere with it (datalink or video transmitters for instance).
INPUTS AND OUTPUTS
